By Izzi, Nursery Co-ordinator at SDCF
It’s that time of year again! Days at the chilli farm are filled with multitudes of seed sowing after a very long winter. Life starts to flourish across our two nurseries where I will be sowing and pricking out all the chillis grown for the crop in our polytunnels and subsequently made into the products you all love! Or they will sown and pricked into plugs and 1L plant pots for all you chilli heads to grow on and harvest from yourselves. However, you may fancy turning your own hand to sowing chilli seeds this year. This is such a rewarding experience, offering a vast array of varieties from mild and sweet to scorching hot. It's easier than you think, and with a little patience, you'll be harvesting your own chillies in no time.
Getting Started:
The key to successful chilli growing lies in giving your seeds the right start. Ideally, sow your chilli seeds indoors in late winter or early spring. This gives them a head start in a warm and stable environment.
What You'll Need:
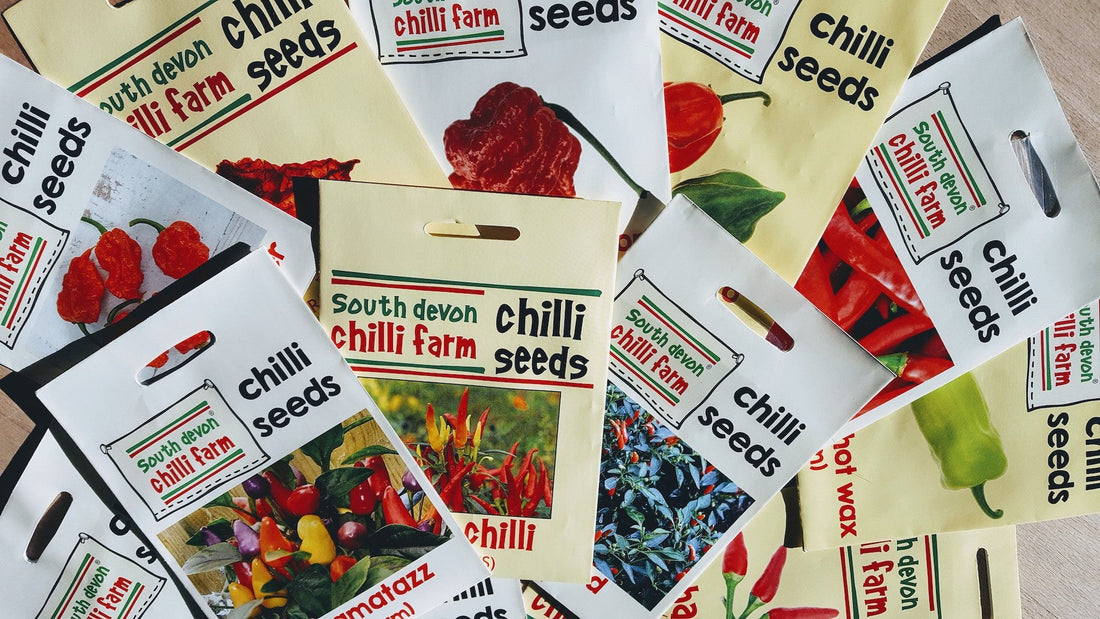
● Chilli Seeds: Selecting your chilli varieties is a delightful part of the process, offering a chance to choose peppers as visually appealing as they are delicious. Whether you're drawn to ornamental varieties perfect for a windowsill display, crave the intense heat of a superhot, or prefer the yummy flavour of a cherry bomb or jalapeno, the possibilities are endless.
● Seed Starting Trays or Pots: Small pots or trays with drainage holes are perfect.
● Seed Starting Medium: We use only fine-grade vermiculite. It has had the best success over the years for strong seedling growth!
● Warmth: Chilli seeds need consistent warmth to germinate. A propagator, heat mat, or even a warm windowsill can work.
● Light: Once they germinate, seedlings need plenty of light. A sunny windowsill or grow lights are ideal (however, grow lights are for the more serious chilli heads!).
Sowing Your Seeds:
- Prepare your containers: Fill your seed starting trays or pots with the vermiculite about ¾ full, gently firming it down.
- Sow the seeds: Sow seeds on top of the vermiculite, spacing them apart as best as you can as you do not want to have them on top of each other.
- Water gently: Moisten the vermiculite thoroughly but avoid overwatering. The vermiculite should be damp but not soggy. As the vermiculite is devoid of any nutrition, we use a very dilute ratio of chilli focus (which you can buy from us) to water in the seedlings. The ratio we go by is 1tsp to 8L of water. Ideally, the water is warm but not hot!
- Provide warmth: Cover the trays or pots with a clear lid or plastic wrap to create a humid environment and retain warmth.
- Wait patiently: Chilli seeds can take anywhere from a few days to a couple of weeks to germinate, depending on the variety and conditions.
After Germination:
Once your seedlings emerge, remove the cover and provide them with plenty of light. Keep the vermiculite consistently moist, but avoid overwatering. Once the seedlings have a few sets of true leaves, you can carefully transplant them into larger pots.
Tips for Success:
● Temperature is key: Aim for a consistent temperature of 25-30°C for optimal germination.
● Don't overwater: Soggy vermiculite can lead to rot at the base of the seedlings (known as damping off).
● Provide adequate light: Seedlings need plenty of light to grow strong and healthy.
● Be patient: Germination can take time, so don't give up!
Growing chillies from seed is a fun and rewarding experience. With a little care and attention, you'll soon be enjoying the fruits (or should I say, peppers?) of your labour. So, why not spice up your life and give it a go?


